Are your kids back in school? But it’s only August!?! I remember when school started after Labor Day. We spent August at the beach, took one last vacation over the long holiday weekend and knew we couldn’t wear white after that final BBQ in early September. Now, kids have packed their pencils, rulers and Pee-Chee folders (Did I just date myself?) into new backpacks and headed to school at the beginning of August. That’s crazy! I’m staging a protest! I say we need one more tropical vacation before settling into a back-to-school routine. No time/money for a tropical vacation? *sigh* Me either. Well, let’s do the next best thing. Let’s make some tropical Coconut Dragon Fruit Ice Cream and pretend we’re sitting on a beach somewhere enjoying these last few days of summer.
There are two main components to this refreshing ice cream – Dragon Fruit and Fresh Coconut. This is what dragon fruit looks like:
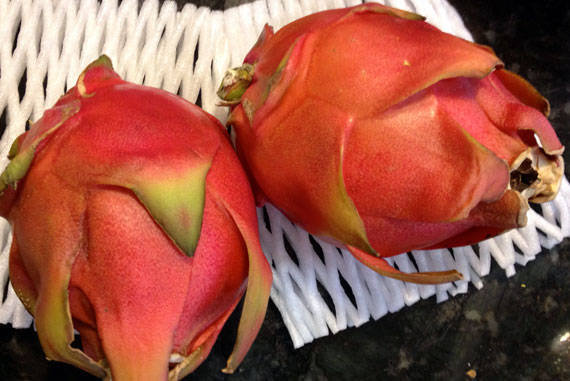
I was gifted with these two beautiful specimens by Melissa’s Produce, as part of their produce basket challenge. These are Magenta Dragon Fruit. All that means, is when I cut them open, the flesh looked like this:
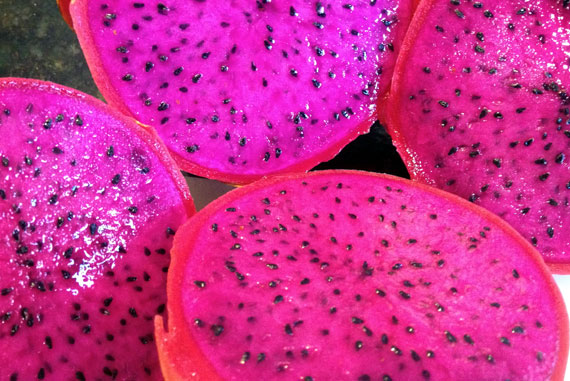
Stunning, right? I love the bright, bold color! There is also a white-fleshed dragon fruit! You can use either for this recipe, but the magenta has such a spectacular color! The flavor of dragon fruit is slightly sweet, but it’s very mild. Did you know Dragon Fruit flowers only bloom at night? It’s true! Instead of bees, dragon fruit flowers rely on bats and moths to pollinate them. I thought that was interesting!
The other component to our “Tropical island, wish-we-weren’t-in-school-in-August, escape-for-one-last-time, Coconut Dragon Fruit Ice Cream, is of course, the coconut!
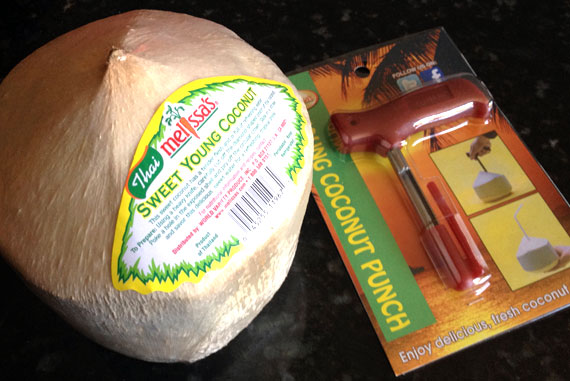
This young coconut was also part of our produce basket (Thank you, Melissa’s!) and to help us open the coconut, they sent a Coconut Punch! A Coconut Punch is that nifty little tool there on the right.
You’ll need to be careful with the Coconut Punch, it is very sharp! The tool works like this, you take off the cap and place it somewhere offset from the center of the coconut. Keep the point as straight as possible and move the handle back and forth, while putting downward pressure on it. The best way to explain the movement is to pretend you’re ride a motorcycle and revving the engine – Vroom! Vroom!
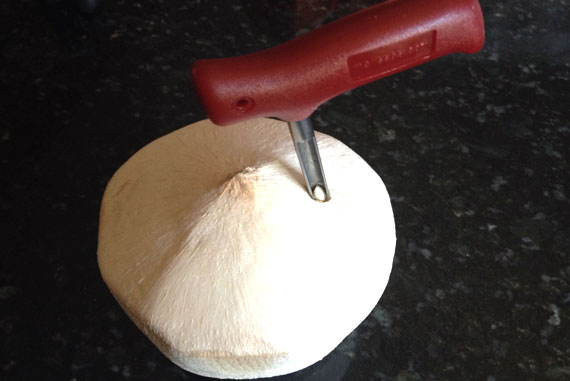
Once you’re all the way through the shell, pull out the punch and slip a straw into the opening!
Ahhhh! Delicious coconut water! Take a few sips, but don’t drink all of it, we need it for the ice cream.
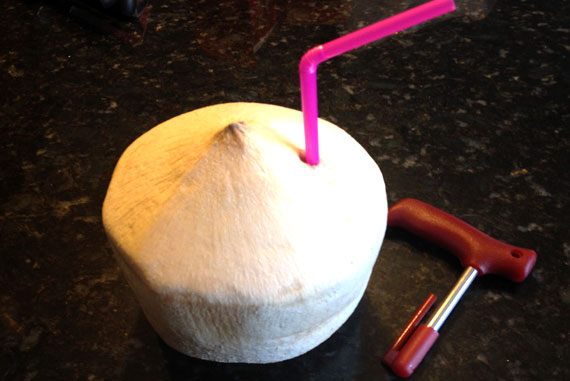
Sipping it adds to the tropical feel of our pretend vacation, right? I feel more relaxed already!
To take the top off the coconut, I used a sharp, serrated knife. Be warned. It’s very hard to get through the husk and shell of the coconut. Take your time and be safe! There are tutorials available online that describe how to do this safely!
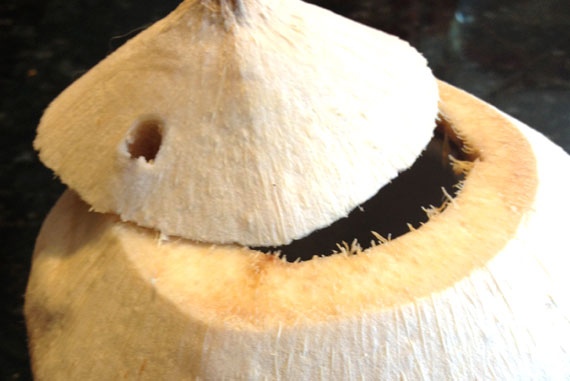
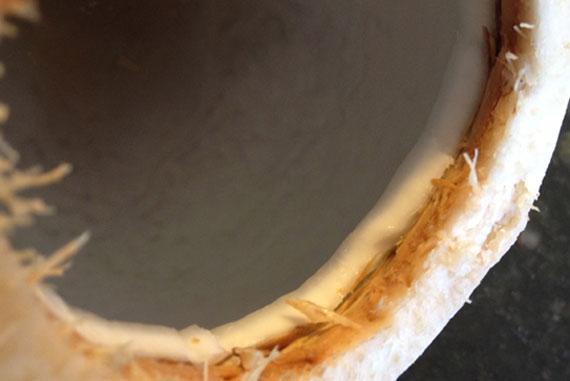
Once your coconut is open, pour all the water into a blender. You should have at least two cups. (if you have less than that, substitute Coconut Milk to make 2 cups) The meat of the young coconut is soft, gel-like and very delicious. It’s going to create an amazing, creamy base for our ice cream. I learned the younger the coconut means the meat inside is more translucent. As the coconut ages, the meat hardens. An old coconut is covered in a dark brown husk and has very hard meat inside! See, we’re learning! Who needs school in August? (Just kidding kids! Stay in school! You can have ice cream when you get home and your homework is finished!)
Scrape the wonderful meat inside the coconut and put it into the blender too. Add all the rest of the ice cream ingredients (more coconut milk, crystalized ginger, lime zest, maple syrup, vanilla and some coconut rum) and blend until everything is smooth! Pour the mixture into a container and put it the refrigerator overnight. It needs to be well chilled before it goes into your ice cream machine.
The next day, pour the mixture into your ice cream machine and process according to the manufacturers directions. Mine took about 25 minutes.
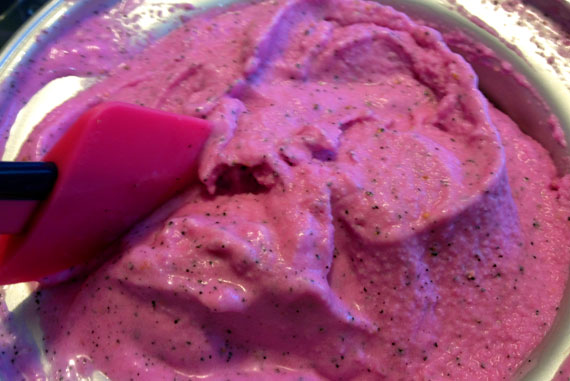
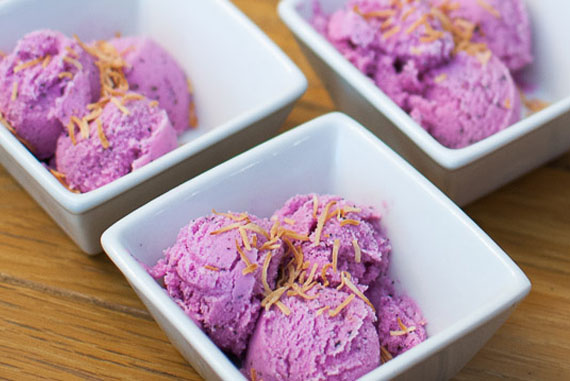
Isn’t it pretty? Put the finished ice cream in the freezer in a freezer safe container, for at least two to three hours. Let it soften a little before serving. Scoop the ice cream into bowls and garnish with toasted coconut. (Or a little paper umbrella if you’re feeling silly!)
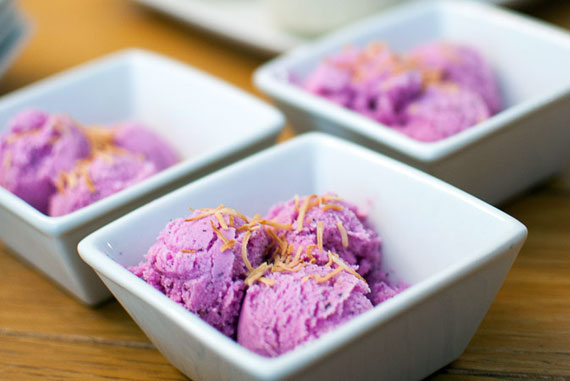
While we might not be able to afford that tropical vacation, we can still enjoy the end of summer and begrudgingly, the start of school, with some Coconut Dragon Fruit Ice Cream. After all, technically, it’s still summer, right? Have fun!
If you don’t have access to a young coconut, substitute a can of Light Coconut Milk. You’d be using a total of two cans of Coconut Milk, one regular and one light.
Ingredients
Instructions
- Place all ingredients in blender
- Blend until smooth (approx. 2 minutes)
- Pour mixture into a large bowl or tupperware container and refrigerate overnight.
- Pour mixture into your ice cream maker and process according to the manufacturers directions.
- Place ice cream into freezer safe containers and freeze for 2 – 3 hours.
- Allow to soften for 15 minutes before scooping into bowls.
- Top with toasted, shredded coconut.
- Enjoy!
*Disclaimer: Melissa’s Produce sent me produce, but I was not compensated for this post in any other way. All thoughts and opinions are my own.




Thank you Sara…we have a dragon fruit farm in Eumundi QLD. As soon as some of my red ones ripen I’m going to try this recipe. Sounds amazing!
Jodie, you will love it! It’s so refreshing and I love the color! <3 Please let me know what you think!
Sara, this is such a unique and beautiful ice-cream, which I’m sure also tastes fantastic! I have never tasted a dragon fruit, but it looks appealing to me! And just mention coconut and I”m there! Great recipe!
Thank you Christina!