My recent trip to Willowbrook Farm in Oak Glen inspired a variety of apple-themed treats in our house! Of all the apple recipes, this one is my favorite! These are Apple Cider Caramels. They are soft, chewy little candies made with an apple cider reduction that is hard to resist! I gave some to a friend and she said they were “dangerously delicious!” I kinda like that!
 You will need a candy thermometer and a bit of patience for this recipe, but the results are well worth it! If you’ve never made candy before, don’t worry! It isn’t too difficult. Just read through the directions several times and be aware hot sugar burns! And sugar burns are NOT FUN (speaking from experience here!) so please be careful. Do not skimp on the time it takes to reduce the cider either. The reduction will give your caramel that distinct “apple cider” flavor. Also, keep in mind I used raw cider for this recipe. If you use a store-bought, pasteurized cider, your caramels will be sweeter.
Ok! Ok! Enough with the warnings! Let’s make some Apple Cider Caramels!!
In a small saucepan over medium heat, bring 2 cups of cider to a simmer and slowly reduce to ⅓ cup. This will take anywhere from 35 to 65 minutes, depending on your cider. Mine took nearly an hour to get down to ⅓ cup. After it’s completely reduced, turn off the heat and set it aside to cool. That concentrated apple goodness is going to make your caramels sing! Plus, your house is going to smell great! Just like Fall!
Once the cider is cooled, you’ll combine it with heavy cream, salt, cinnamon, allspice and nutmeg. Yummy stuff there!
Now, break out that candy thermometer and clip it to the side of a large, heavy-bottomed saucepan. Combine the sugar and corn syrup, set over low heat and cook, stirring until the sugar is completely dissolved. At this point, my sugar hadn’t dissolved yet! Poor sugar!
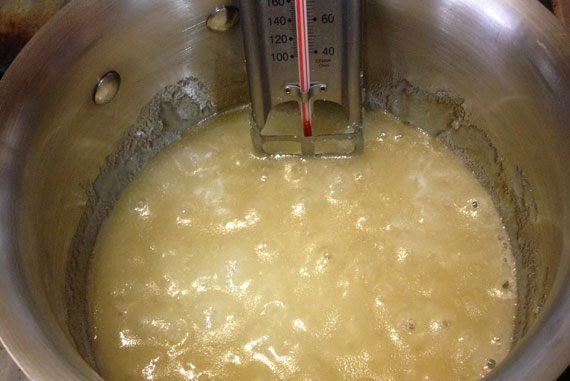
It will take time for the sugar to dissolve, so be patient. Once it is dissolved, simmer the mixture until your thermometer registers 234 degrees F. which is just between thread and soft ball stage. There is a great explanation about cooking with sugar and the temperature stages for candy at The Science of Cooking.
Once you’ve reached this beautiful syrupy state, take the mixture off the heat, remove the thermometer and carefully whisk in the cider cream mixture (the liquid will foam and splatter, so be very careful! Oven mitts are a good idea!) Once the cream is mixed in, you’ll whisk in a stick of cubed, unsalted butter. When everything is beautifully incorporated, return the pan to the stove top and clip the candy thermometer back on the side of the pan. Over low heat, stirring frequently, gently simmer the mix until it is thickened, very sticky and your thermometer registers 250 degrees, or the beginning of hard ball stage.
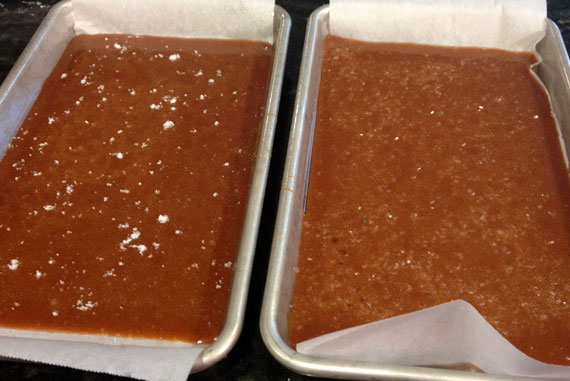
Remove the caramel mix from the heat, take the thermometer off the saucepan and pour the candy into an 8 inch square pan, that you’ve lined with parchment and sprayed with non-stick cooking spray. You’ll notice I made mine in two quarter size sheet pans. I wanted my caramels to be a bit thinner. You can do this, or use a single pan to get thicker candy pieces! I sprinkled sea salt over one pan and left the other just plain. Both are fabulous! Let the mixture cool to room temperature or you can refrigerate it until it’s set. Once the candy has set, remove it from the pan and cut into about ¾ – 1 inch squares.
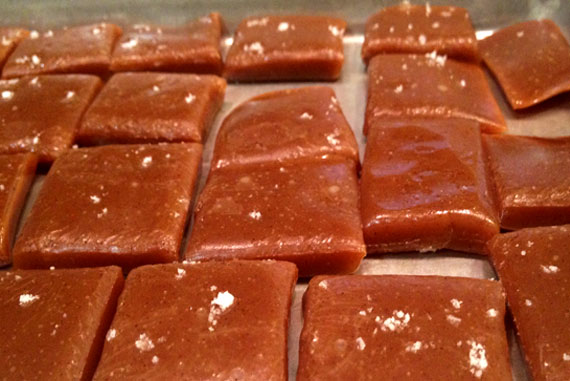
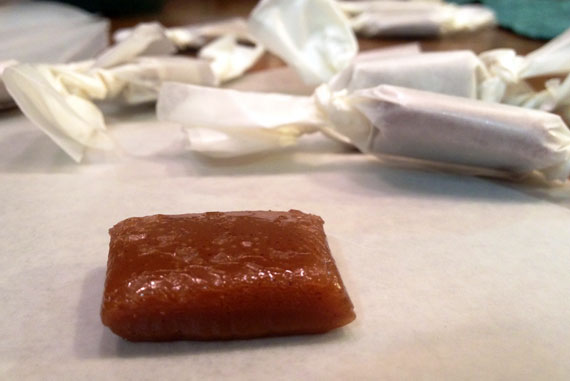
To wrap the candy, I used wax paper. 4 inch by 4 square inch pieces are the perfect size for wrapping. There are wrappers that are sold commercially. Wilton has great foil wrappers. I just prefer old-fashioned wax paper.
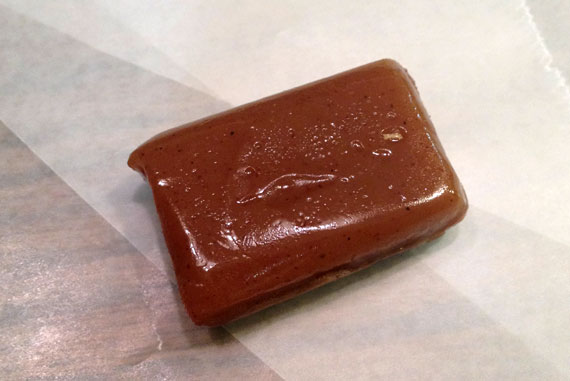
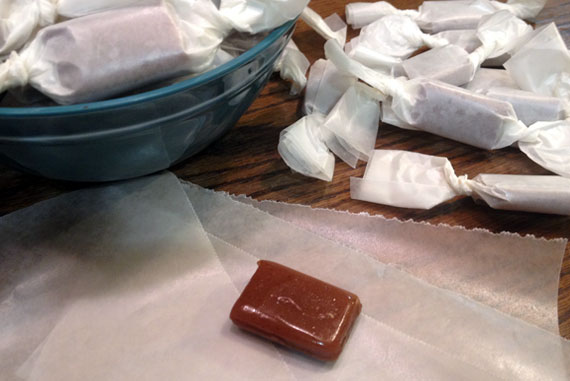
Place one caramel in the middle of the far edge of one of the squares of paper. Gently roll it toward you.
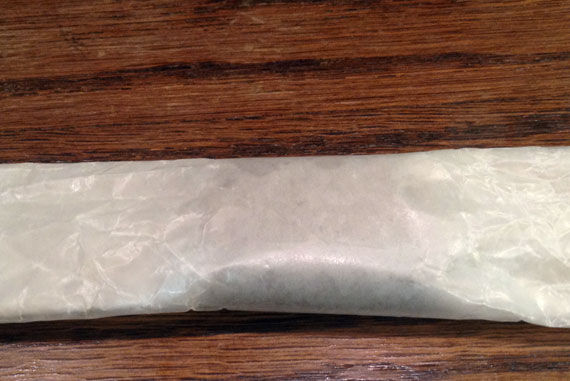
What a boring picture, right? Yeesh! I just wanted you to have an idea of how it should look!
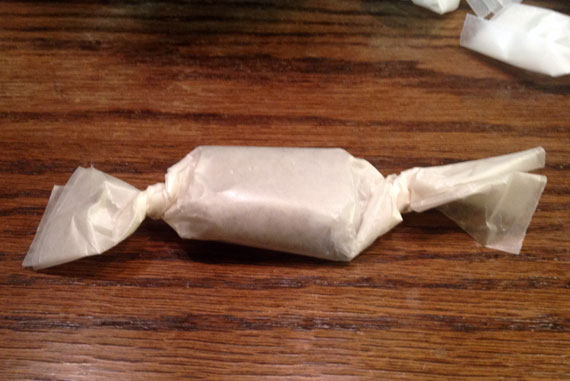
Twist the ends of your wax paper in opposite directions. There! You’re done! Depending on how you cut your squares, you’ll end up with about 60 – 75 caramels. Aren’t they awesome?1? If you’re like me, you’ll have had two or three by now. Quality control you know! ::wink wink:: The Apple Cider flavor really stands out. I think it makes them more special than plain caramel. Your grandmother would be so proud! Store your Apple Cider Caramels in an airtight container in the refrigerator for up to two weeks. They make great gifts and are fun to share with a group. I hope you try these! They are a little bit of work, but every bite is Apple Cider heaven!
Ingredients
Instructions
- In a small saucepan set over medium, bring the cider to a simmer and heat until reduced to ⅓ cup. (approx 35 to 65 minutes) Remove from heat and set aside to cool.
- Line an 8 x 8 inch pan with parchment paper. Butter or spray parchment with nonstick cooking spray.
- In a small bowl, combine heavy cream with the salt, cinnamon, allspice, nutmeg and the reduced, completely cooled, cider reduction. Set aside.
- In a large heavy-bottom saucepan combine sugar and corn syrup. Place over low heat and cook, stirring constantly until the sugar is dissolved. Simmer the sugar mixture until the candy thermometer reaches 234 degrees F.
- Remove mixture from heat and slowly and carefully whisk the cream mixture into the melted sugar. The mixture will foam and splatter, so be careful! Add the cubed butter and continue to stir until the butter has completely melted and becomes fully incorporated.
- Return the pan to the stove. Heat over low, stirring often, until the mixture thickens, becomes sticky and the candy thermometer reaches 250 degrees F.
- Remove the caramel from the heat and pour into prepared pan. (At this point you can sprinkle a little sea salt over the candy, or even lightly dust it with cinnamon powder) Let the mixture cool to room temperature until set (or put in the fridge to set more quickly)
- Once the candy is set, remove from the pan and cut into ¾ inch – 1 inch squares. Wrap each piece in wax paper, twisting at the ends to seal.
- Store caramels in an airtight container in the fridge for up to two weeks (If they last that long!)
Notes
Recipe from Handle The Heat, via America’s Dairy Farmers, via Our Best Bites
Enjoy!

