Hi friends! I’ve been writing and sharing canning recipes for my blog, but I’ve never really shared HOW to can things. Let’s fix that! Here’s an Easy Canning 101 Primer, as it were.
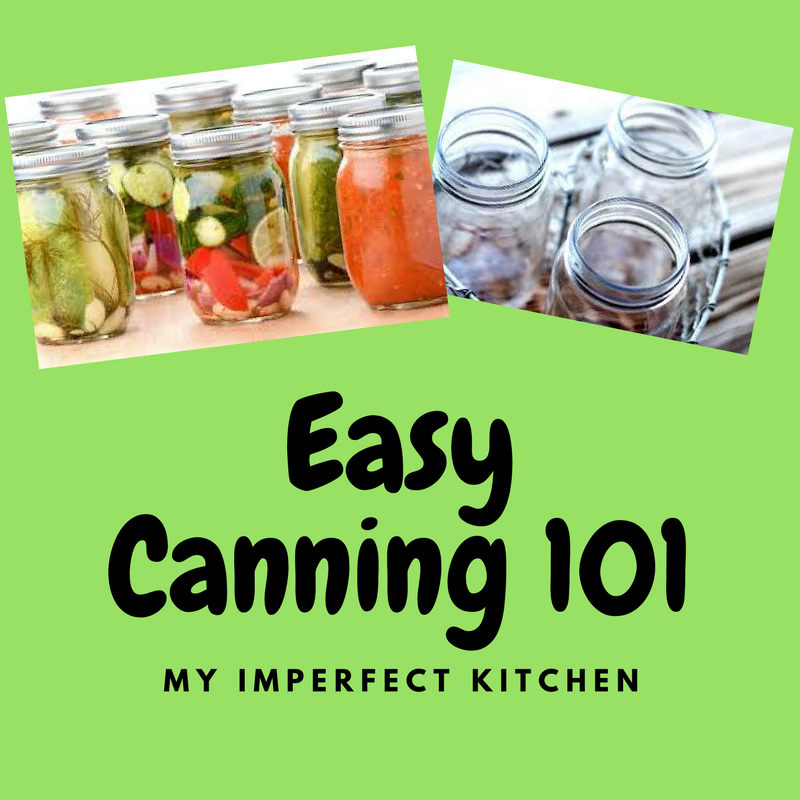
Canning is a fun, economical way to preserve foods, from jams and jellies (my favorites) to pickles, salsas, pie fillings, syrups and even whole fruits! We “can” save the best of the season to enjoy throughout the year. This is especially helpful and wonderful, during harvest season when our gardens are overflowing with produce!
You might be hesitant about canning, but it’s a very simple process. The boiling water bath method is almost as easy as boiling water itself.
Let’s walk through the items and steps you will need to safely can recipes using a water bath canner. Ready? Let’s get started!
Steps for Easy Canning 101:
First: Always, always, always (did I mention ALWAYS?) use a recipe from a reliable source! The National Center for Home Preservation is a great place to start. HealthyCanning.com has a plethora of fantastic information in the “learning resources” section and if you’re looking for great, small batch recipes, visit Marissa from Food In Jars.com
Second: Pre-sterilize your jars and equipment. You’ll need the following basic equipment:
A big pot! However, there are a few prerequisites: it must be deep enough to submerge your jars in water (at a strong, rolling boil) by at least one inch. It needs some sort of rack to hold the jars off the bottom of the container and to allow the water to circulate freely. And you need a snug-fitting lid to keep the temperature consistent inside the canner. You can buy canning “sets” online at places like Amazon.
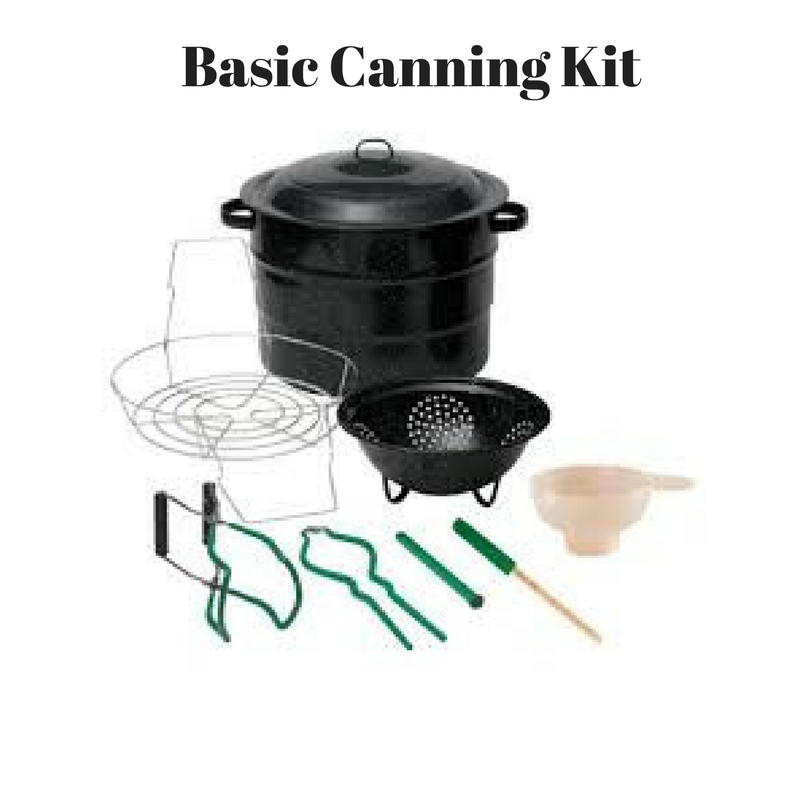
For less than about $40.00 you can have everything you need! You will want a jar lifter, a canning rack, plenty of dish-towels and pot-holders. A funnel is especially useful and of course, jars and lids. Speaking of jars and lids…
Third: ONLY use jars approved for canning.
You can often find jars at your local grocery store. Big box markets (like Target or Walmart) and even Home Improvement Stores also have great canning sections. If you’re an online shopper, check out: FreshPreserving.Com
Common brands are Ball and Kerr. Take the time to check each jar for any cracks, and examine the rims for tiny chips. Using a cracked jar will almost always lead to a broken jar in your canner. That’s no fun to clean up. Trust me! Always put hot foods into hot jars in order to keep jars from breaking. Keep the jars from touching anything cold, i.e. your countertops! Place dishtowels on the counter where you will set your jars to fill them and where they will cool once you’re done processing them.
It’s easiest to sterilize jars using your dishwasher. Alternately, you can wash them in hot, soapy water, then simmer them in your canning pot, covered with water, for 10 minutes. The jars should still be warm, when it’s time to fill them. Most lids now don’t need to be simmered but dipping them in a bit of hot water before applying them is a good idea. You don’t have to sterilize the bands, but dipping the funnel, tongs and ladle in a pot of boiling water is quick and simple and will keep things clean and safe!
Fourth: Heat the water!
Boiling the large amount of water necessary for processing takes time! So, before doing anything else in your canning recipe, fill your canning pot with water and start heating it. Put the lid on as that will make it heat more quickly. Usually 30-45 minutes before you’re going to start your recipe is a good rule of thumb. Place empty jars in the canner as the water heats. This way the jars will be warm and ready when you are!
Fifth: Make the recipe!
Seems like a no-brainer on this one, but as with any recipe, read it through completely – several times in fact, before you begin. Have all your ingredients prepared, measured and ready. This will save you time and heartache. There’s nothing worse than realizing you forgot an ingredient or something was supposed to be chopped and it’s not. With most canning recipes you can’t just stop in the middle to prep something you forgot.
Sixth: Fill the jars!
Your recipe and the jars should be warm, more often HOT, when it’s time to can. Fill the warm jars with the prepared recipe, leaving the required headspace at the top as specified in your recipe. Headspace is the unfilled space in a canning jar between the top of the food or liquid and the underside of the lid. The correct amount of headspace is essential to allow for food expansion as the jars are heated and for the formation of a strong vacuum seal as jars cool. Headspace will vary depending on what you’re canning, so be sure you check your recipe. If pickling, make sure the fruit or vegetable is fully covered by the pickling liquid.
Gently stir the contents of your jar to release any trapped air bubbles, or you can gently tap the jar on the counter. Stir with a wooden chopstick or plastic knife. Don’t use metal utensils as they can chip the glass! Remember chipped glass = broken jars. Once your jar is full, carefully wipe the rim of each jar clean with a damp paper towel. Even the smallest amount of food or residue on the rim can cause a lid not to seal. The point is to have food you can keep on your shelf that will be safe to eat later. Wipe those rims, friends! After you’ve wiped the rim with a paper towel, then put on the two piece lids. Place the lid on first, then screw on band. Screw on the bands fingertip-tight. Don’t completely tighten them so air in the jar can escape as it’s processed.
Seventh: Process the jars!
Place the filled jars in the canning rack and lower the rack into the pot of boiling water or lower the jars in using a jar lifter! When you are moving jars in and out of the canner, always keep the jars vertical. Never tilt the jars as it could potentially have an impact on how the jar seals. When the jars are fully submerged, make sure the jars are covered by at least 1 inch of water and that none of the jars are touching each other. Cover the canner and wait until it comes to a full boil (not just a simmering boil). Only then should you begin the processing time specified in your recipe. Processing times vary not only based on the size of the jars you are using but also altitude. As elevation increases, water boils at lower temperatures that are less effective for canning. If you have used a reliable source, it should specify the times for various elevations in each recipe. If you’re not certain of the elevation where you live, go here: What is my elevation?
After the processing time is up, turn off the heat and let the jars sit in the water for 5 minutes.
Eighth: Let things cool!
Remove the jars from the canner using your jar lifter (remember; always lift straight up and down, never tilt the jars at an angle) and let the jars cool on a wire rack or dish towel for 24 hours. You will have water on the lids from the canner – resist the urge to tip the jars to get the water off or wipe them off with a towel. The water will evaporate on its on. You don’t want to risk breaking the seals on your jars. While your jars are cooling (sometimes even as you’re removing them from the canner), you should hear a popping noise, which is the sign that the jars are sealed airtight and the process is complete. Once your jars have cooled, check to be sure they have all sealed. You can do this by making sure each jar has a slight dip in the lid’s center and doesn’t flex when tapped lightly with your finger. I will update this post with a video soon so you can see what I mean. If there is any give in your lid, it means the jar is not sealed. If that happens, don’t worry! Simply stick that jar in the refrigerator and use it first. Store all sealed jars in a cool, dark place. You should remove the bands before storing and never store jars on top of each other. If everything has sealed correctly, jars should keep in your pantry or cabinets for at least a year.
Helpful Hints:
Never use a jar or lid that is not safe for home-canning. Don’t try to recycle old jars that previously held mayonnaise or peanut butter or any other food purchased at a grocery store.
Never recycle lids for canning. It is a dangerous (though common) cause of a failed seal. With two piece lids, you can re-use the bands, but not the actual lids. Thankfully, lids are sold by themselves and are not too much money.
Can only fresh, firm produce. The best produce makes the best final product!
Don’t over-fill or under-fill your jars. This will affect the quality of the seal. Always go with the recommended headspace in the recipe. If you have too little to fill a jar, pop it in the refrigerator to eat immediately. I consider this the “chef’s portion.” ;-)
Don’t over-do the tightening on your lids, as it may break the jar. The sealing is done by the canner, not by how tightly you close the band. A good rule of thumb is to tighten the lids while keeping your pinky finger away from the jar. Again, I think a video here might be helpful, so I’ll work on that for you!
That’s it! I know it seems like a lot of steps, but once you do it, it’s really not difficult. If you’re ever not sure about something, shoot me an Email at: Sara (at) MyImperfectKitchen (dot) com or message me on Facebook at: My Imperfect Kitchen I’m happy to help!





Sara, this is a great post! I have been doing some quick pickle recipes (refrigerator pickles) and having so much fun with them…seriously considering becoming a Master Preserver!
Lisa! Thanks for reading! I love quick pickles too. They’re the best!! Let me know if you have any questions about the MFP program. :-)
These are GREAT steps and suggestions.
I would also like to add … NEVER hot water bath any recipe that includes meat (such as soups). There are special requirements there including using a pressure canner. Also, some vegetable recipes may require pressure canning, especially those that include tomatoes and mushrooms.
Lastly, recipes that use oil (such as pesto or sun-dried tomatoes) should not be hot water bath nor pressure canned. The oils can harbor bacteria no matter how hot the ingredients.
Happy canning and ty Sara!
Thank you for the additions, Diane. Great tips.
What great information. I only can every other year and always appreciate a good reminder. Thanks Sara!