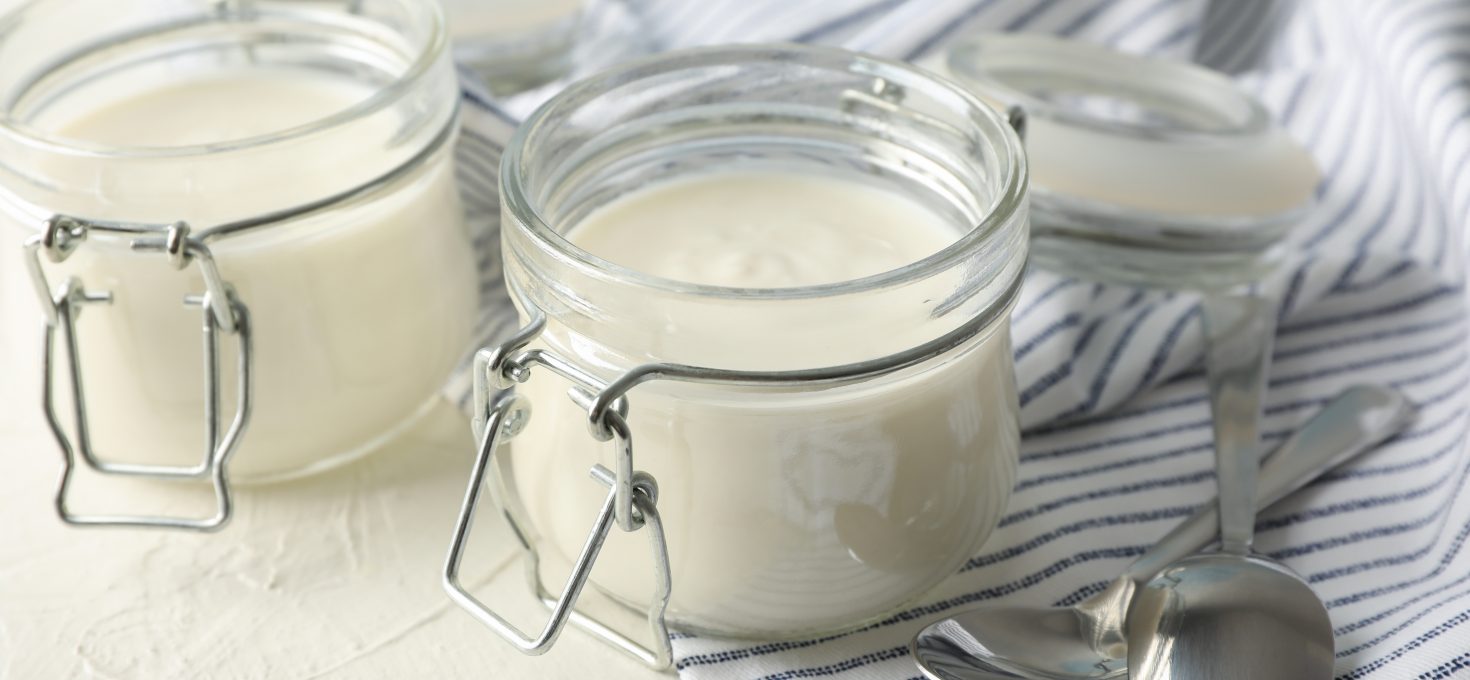
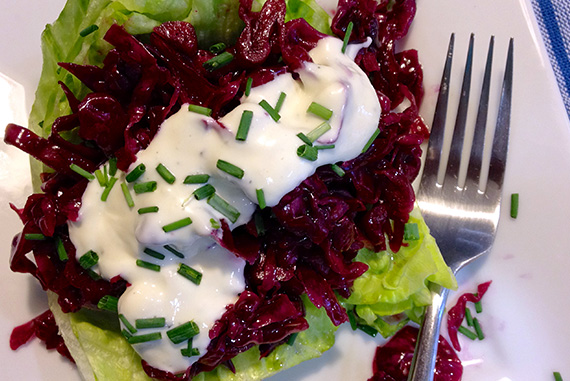
My Instant Pot is put to use quite often. As the author for two Instant Pot cookbooks, I find myself trying new recipes and weekly testing the limits of this unique device. However, when people ask me for my favorite recipe or what I make most in the Instant Pot, my answer is always Greek Yogurt! Instant Pot Greek Yogurt isn’t as difficult as it sounds. It does take time. It’s worth the little bit of extra effort however, to get fresh, healthy yogurt without any added ingredients.
What’s in Instant Pot Greek Yogurt?
It’s whole milk and a few tablespoons of starter. That’s it. Once you make a batch on your own, you don’t need starter again. All you have to do is save a small bit of your current batch to use as the starter for the next. BOOM! Easy peasy.
If you like your yogurt on the sweet side, you can add honey or vanilla to it, but I prefer to add the sweet stuff afterward! This way, I have a lot of plain yogurt for use in baking or any other dish that requires yogurt.
Does it really take a lot of time?
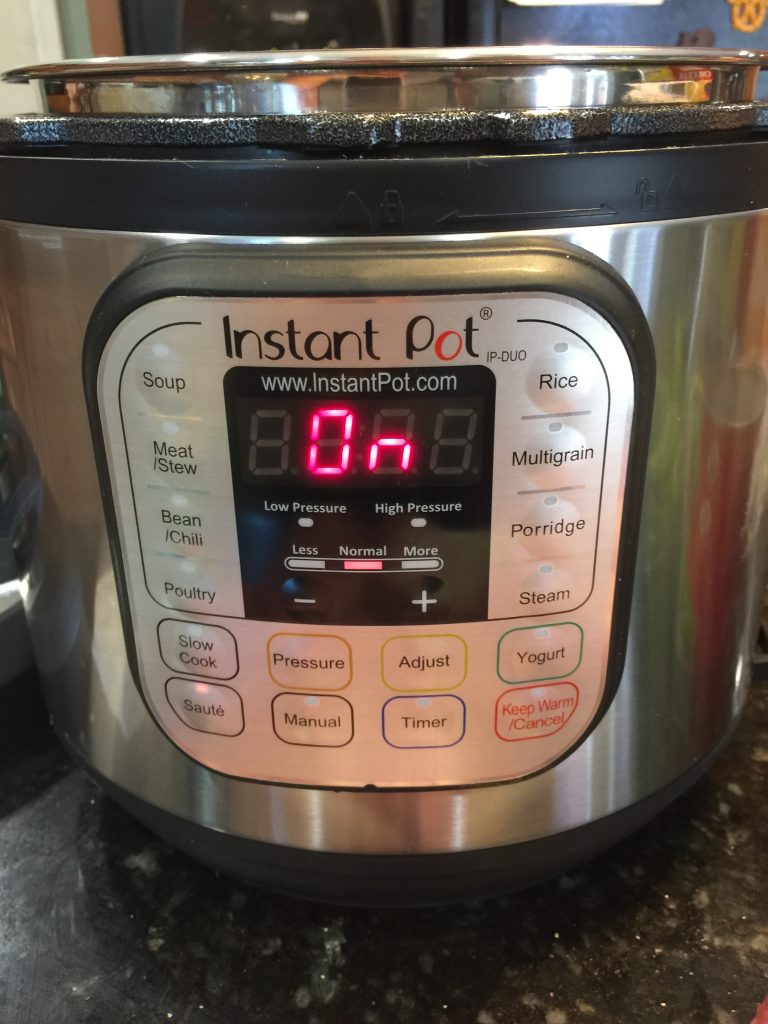
The answer is yes and no. It does take time, but the majority is not hands on. First, make sure your Instant Pot has a yogurt function button. The first Instant Pot I purchased didn’t have that feature and I ended up buying another one, just for the yogurt button alone!
Make the yogurt while you sleep!
I incubate my yogurt overnight. It does the work while I sleep. How cool is that? My process is this: Begin the yogurt (heat the milk) before doing the dinner dishes. This process will take approx 30-45 minutes depending on how much yogurt you’re making and the temperature of your milk. I pour the milk in the inner liner, press the yogurt function button to BOIL and let it heat while I wash the dishes. After the milk has come to temperature (between 180-200 degrees F) I get out my starter and put it in a small bowl, then either cool the milk quickly by placing the inner liner in a bowl of ice water (the kitchen sink works well too) and stirring constantly until the temperature drops to 100 degrees F. This takes about 10-15 minutes.
Then, carefully remove about 1/4 cup of the warm milk and mix it in with the starter. Stir well until it forms a smooth liquid. Pour this liquid back into the inner pot with the rest of the milk. If you were cooling the milk in a sink of water or a bowl of ice water, carefully dry the outside of the inner pot before putting it back in the housing unit. You don’t want to put a wet pan on top of the heating element. This would be bad. Now, set the time on the yogurt function to between 8-12 hours. The longer you let the yogurt incubate, the tangier it will become. Pro Tip: If you’re looking to make your own sour cream, go the full 12 hours! I like the taste of mine when I set it for 10 hours. Once the timer is set on your machine, brush your teeth and head to bed, or read a book or whatever. In the morning, your yogurt will be ready for the next step.
What’s the next step?
Great question! After your yogurt has incubated for between 8 – 12 hours, remove the lid, turn off your instant pot and remove the inner liner from the housing unit. Cover with plastic wrap or use a glass lid and put the yogurt in the refrigerator for a few hours to cool completely. During this process your yogurt will thicken slightly. Now, after those two hours in the fridge you have two choices. One: eat the yogurt! It will be a thinner yogurt with a pleasant tang. If you’d like to make Greek Yogurt that’s nice and thick, you’ll need to get out your largest bowl, a large strainer or colander and some cheesecloth.
Place the strainer over your bowl and line the strainer with cheesecloth. Now dump all your beautiful yogurt into the strainer and return it to the refrigerator for at least an hour, or up to four hours. I typically let mine go for about 90 minutes to two hours. What will happen is the whey will separate from the yogurt solids and strain down into the bowl. This process is similar to making homemade ricotta cheese. Let the yogurt drain until it reaches your desired consistency.
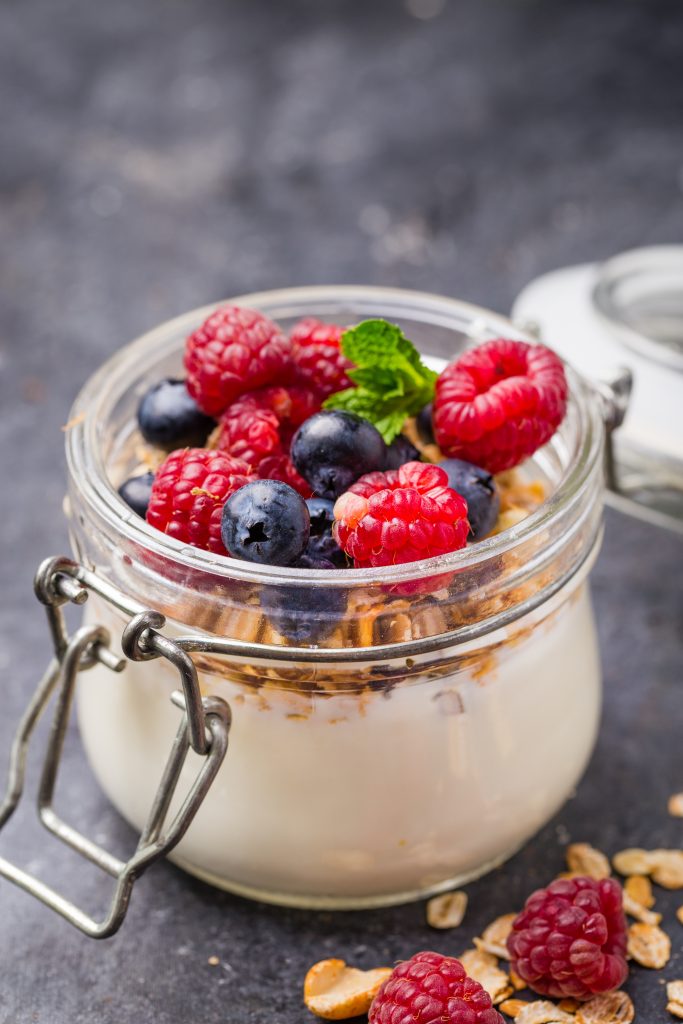
Serve by adding sweeteners such as honey, agave or maple syrup. Add fruits, granola or your favorite toppings. The sky is limit! I love adding homemade granola and a squeeze of agave syrup over the top!
How do you like your Yogurt?
Share with me in the comments below! Also, it seems my cute canning jars are being put to use a lot in pictures lately… are you tired of them yet?
Until next time friends! Live life deliciously!
Sara~

